If there’s one platform that is the most well known for blogs and websites it has to be WordPress. It’s no wonder then that WordPress powers around 30% of all websites. (including those of Forbes, National Geographic and People Magazine). And 500 new ones are brought to life every day.
There are two WordPress options: one which is free and the other which is self hosted. Around 50% of users opt for the free version. It takes almost no time to set up and is fine for people who want to run something like a basic hobby type blog, but installing WordPress in general is very easy and quick – we’re talking less than five minutes! Plus there are plenty of hosting providers with sites set up to deal with WordPress specifically.
This article provides a simple guide to installing WordPress on a self-hosted basis. It’s intended for complete beginners, and should make every step really clear and simple.
Let’s get started!
How to Install WordPress
Pre-WordPress installation
The Basics
Before you can do anything much you need:
- To come up with/register a domain name : This will be the name people type into a search engine or bar to get to your site. So, it’s important that this is not too long, makes sense in relation to what you are doing with the site, and, this is the trickiest part, is available. Play around with different ideas and ask friends for their opinions before making a final choice. Remember – keep it simple and straightforward. Some people sell their existing domain names but that could be an expensive route to go so unless you really need it it’s best avoided when you are a beginner.
- To find a hosting company you like, trust, can afford and know are familiar with WordPress. The cheapest option is shared hosting, but do some research as there can be some issues with shared hosting that you don’t feel comfortable with.
- To set up your new domain name so it can connect to the new website. Basically this means ‘pointing’ one at the other. This can be done via the domain control panel, or by having someone help you do what can be baffling to a beginner. The process can take up to 2 days.
- To know that different hosting providers use various versions of a WordPress installer, but they share the same or similar methods of installing.
Also Read: Best Managed WordPress Hosting That You Should Try
Choose whether to Go with SSL or Not?
Before moving on to the installation decide whether you want/need to organize Secure Socket Layer (SSL) certification which will give you a domain address beginning https:// and encrypted communication. Obviously this is very important if you are gathering personal data or selling items online – to protect shoppers’ security.
If you decide to leave this for now anyone using the site could well be warned that it is not secure. This could be a huge turn off factor, and to make it even worse search engines will rank your site lower than if it was secured. It is possible to add it to your WordPress site later but that could mean a complete reinstall is necessary, and a possible negative impact on search engine indexes. Considering it is free, has hardly any impact on the speed your site operates at, and is often offered free by hosting providers it makes sense to go ahead and use it from the start.
Setting up WordPress via an Auto Installer
cPanel is the most common website dashboard most people will see when they sign up to a web host. That will have an icon for the autoinstaller, which makes the whole process really simple and quick. Here are some more details on this topic.
Installing WordPress using Mojo Marketplace
This is a common tool, and it only takes one click to get started! Find the icon on the cPanel, choose either the 1-click or Install WP option, check ‘install’, choose your (already organized) domain name to attach to the site, click ‘check site’, change the auto password etc (in advanced options), then the final ‘install now’ button. Don’t navigate away until it is completed – which is only a few minutes! Once it’s done you will be reminded of the login details, then it’s all yours to play with!
Installing WordPress using Softaculous
This is another popular auto-installation which is popular with hosting companies, and again it is found in the cPanel, either by name or by WP installer icon. Clicking on ‘Install’ will trigger a question regarding where you want it to be installed, and here you must manually enter the site’s domain name, starting with http(s)://www. Following some straightforward admin tasks it’s a case of authorizing the final step to install it.
You will see a success message after the installation is finished. It will also show you a link to your website and another link to your WordPress admin area.
There are others, such as QuickInstall or Fantastico offering similar services and they all run along similar lines.
Manual Installation: Part 1
This takes a little more time but it still shouldn’t take more than 5-10 minutes. It isn’t really necessary for beginner to attempt this as the autoinstall options are totally fine, but if you want to push on and do it then here’s a guide.
Step 1 – Source an FTP
You do need to use a File Transfer Protocol client to do the transfer of files – so get that done before going any further. A simple Google search will bring up links to several free options with full details/instructions.
Step 2 – Download WordPress
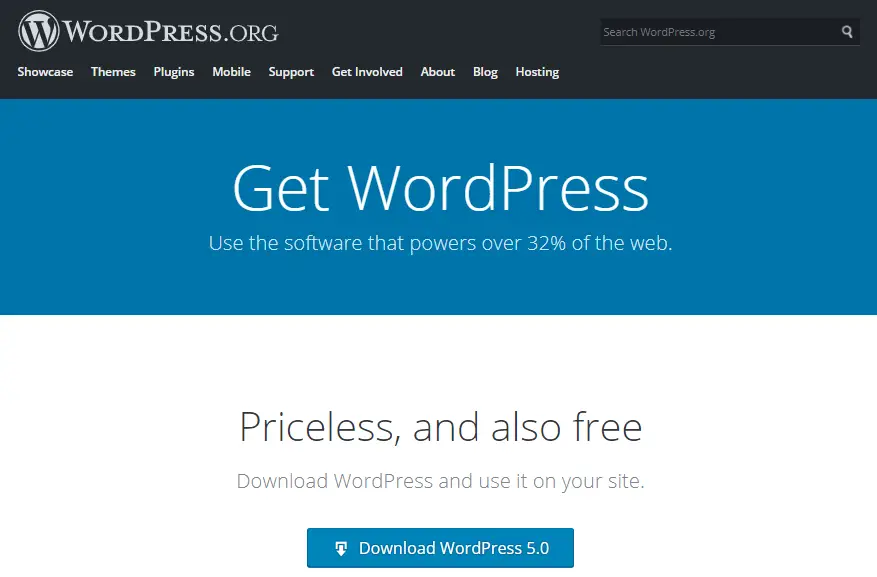
Look online for the most recent version of WordPress – revisions are pretty constant so be sure you find the most up to date version – the file will most likely be zipped, so open that and then use the FTP client software you chose to upload the WordPress files into your chosen web hosting platform’s directory. You can put it in the root directory (marked as something like /public_html/, or in a subfolder, (marked as something like /public_html/blog.
Step 3 – Create a database
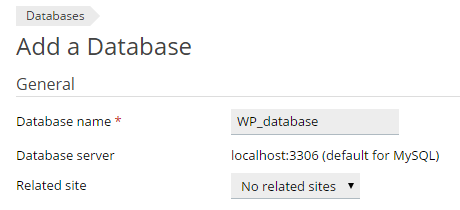
Next you need to create a database, which you can do from your hosting control panel. There will be a section on databases, and an icon for creating a new one, which you need to do, before creating a user ID and password and a new user. Add the name to the database and grant it full permission to manage things and you are set up and ready to go with the installation. This is where your posts created and any comments made are stored, along with other information. The username and password created will be needed later when you way to retrieve or access information to edit it as you choose.
Step 4 – Installation
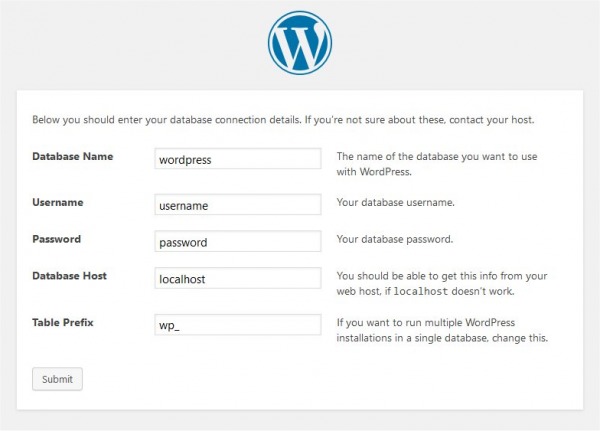
Navigate to the URL you created for your WordPress site, choose the language you want it to be shown in, (this can be changed later if necessary), the continue button takes you to the installation guide where you need to add details on your database name and password and lead you through a couple more admin tasks.
Step 5 – Run install
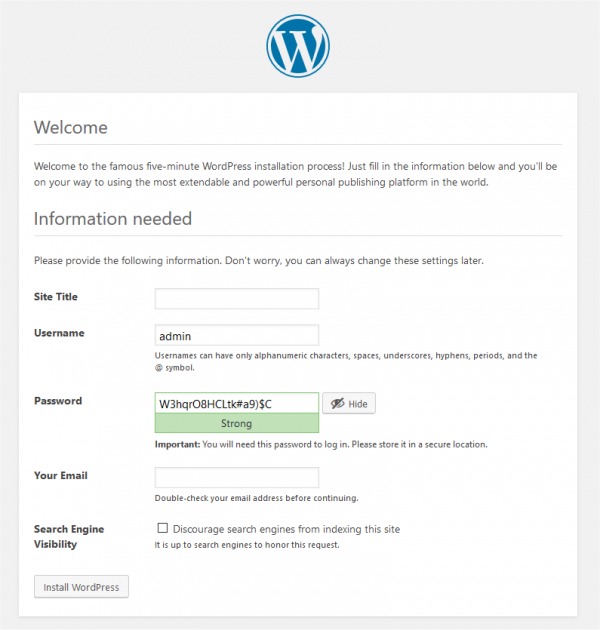
WordPress is pretty much doing all the work behind the scenes but you will be asked for the odd bit of input now and then, such as the title of the site, the username and password for the admin , and a connected email. You will of course be able to change things at any point later. Once everything is done a success message will pop up, and this means you are free to login and get started.
Manual Installation Part 2: Post-installation
Even the most complete novice deserves to feel proud of their achievement, having got this far, and there’s a whole lot of fun and learning ahead yet. Once your WordPress is safely installed it’s your chance to think about moving it forward. There are two key things to look at here; themes and plugins.
Also read: How to Optimize Performance & PageSpeed Score of a WordPress Blog
Choosing a Theme
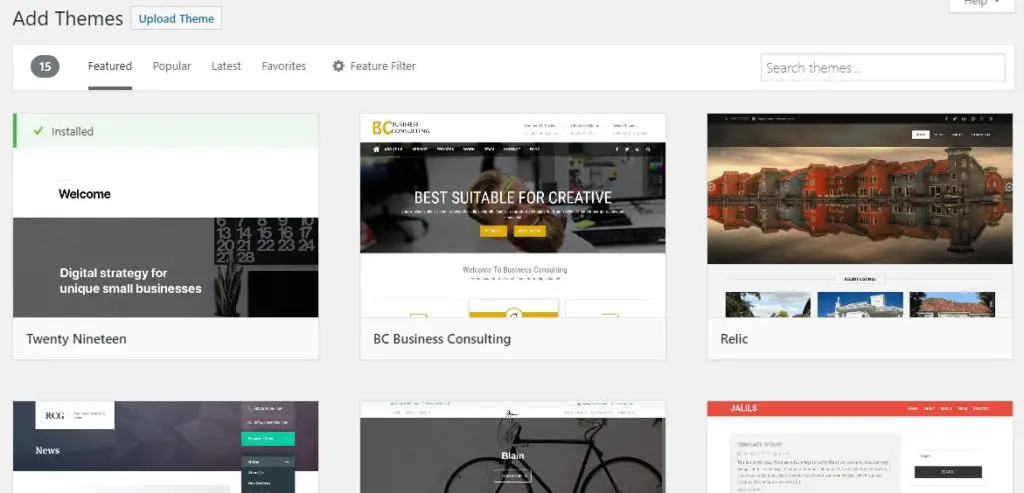
If you are stumped for inspiration don’t worry, there are thousands on the website to choose between. Some are free, others you need to pay for, but a fee doesn’t always make them a better choice. It’s always wise to keep things attractive but simple, rather than adding every single bell and whistle you happen across. Fussy sites really confuse browsers too, so keep it lean and clean!
Also read: Best WordPress Blog Themes
Picking Plugins
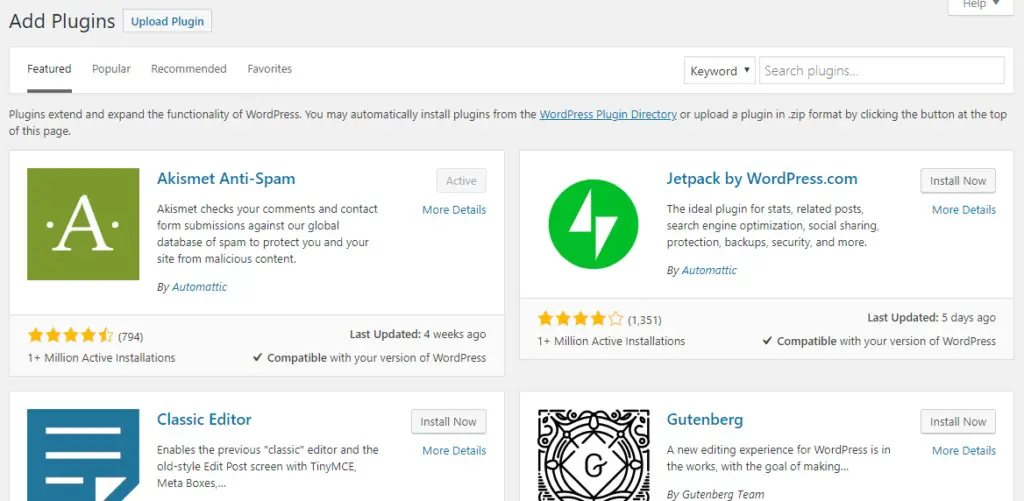
Plugins are great as they allow you to add critical features to your site and extend its reach. Some plugins are free, others are sold by various people, some are designed to help with basic site administration, others let people leave comments, track visitors or create calendars and events.
Are you ready to get started?
WordPress is probably the most reliable and easy thing to install for beginners, whether you pays someone to do it all, use an auto installer, or download and install it yourself. However you go about it you will soon pick up the way things work, and how to make it work best for you.

